Stream2 Brightcove Gallery with Stripe
Stream2 Brightcove Galley Forms allow you to create customizable form that provides a cart-free frictionless paywall and gating for Brightcove In-Page and Portal Gallery Experiences. We support Live Stream or On-Demand. Stream2 Brightcove Galley Forms can be edited to match your organization’s branding or event. Customer friendly access is provided by our Passwordless Magic Link technology.

When starting a new form, keep an eye out for these fun features:
- Lock/Unlocked - It is very good practice to get into the habit of locking a form once you’re finished editing it.
- Form Link - To view what your form will look like on a larger screen than your Preview, utilize the Form Link. Your Form Link is the link you will use to share your form with the public.
- Preview Screens - The Preview screen to the right of your collapsible menus allows you to view what the form will look like in real time on a mobile device.
There are 3 viewing options you can select that allow you to preview different views a customer may experience using the form.
1. Cart-Free Form
2. Off Sale
Off-Sale must be enabled in order to select this from the drop down.
3. Thank You


You can get started by creating a new form and selecting Stream2 Brightcove Gallery

Once you create your form, you are brought to the form editor. Here is an example of a completed form that has been branded and styled.
We like to call each section of our menu a collapsible! Every form is customized by adjusting settings and content in our collapsible menus. The 13 different collapsible sections are:
Form Settings
Form Layout
Off-Sale
Header Image
Main Content
Gifting
Pricing Configuration
Payment Options
Stripe Hosted Payments
Enhanced Questions
Social Sharing Previews
Thank You
Messages
Form Editor changes are automatically saved as you work.
Form Settings
The default template setting is a form set on a white background. Form Setting allow you to customize some global aspects of your form.  You can customize your background and settings in the Presentation Manager. It is highly recommended to utilize this feature. A Presentation Manager can be applied at any time by selecting it from the Presentation Manager drop down menu.
Custom Domain (if configured in your account) will allow you to assign a custom domain for your form. This is one more level of branding and awareness that your customers can recognize.
A Form Alias is the extension to the URL. You may use descriptive words (no spaces, lowercase only) to describe the product or action - "stream-now" or "miscast23-on-demand"
Required Color - allows you to enter a hex code to match with your branding to set a color for any fields that are required on your form.
Rule Color - allows you to enter a hex code to match with your branding to set a color for any rules on your form.
Link Color - allows you to enter a hex code to match with your branding to set a color for any links on your form.
Form Layout
You have the ability to organize the major blocks of content on a form using drag and drop. Just click and hold on the multi-arrow icon and drag the element to where you want it. You can add rules and or spaces to fine tune the layout of your form. For example, you could use this to move gifting near the top or place it near the bottom.

Off-Sale
Off-Sale By Date allows you to set a specific date by which your on-sale items will no longer be available. Off-Sale By Date can be enabled or disabled.

If Enabled:
- You can choose an Off-Sale date from the Date selector. This sets the day the form will present the Off-Sale message.
- You can choose an Off-Sale time from the Time selector. This sets the time the form will present the Off-Sale message.
- You can choose an Off-Sale time zone from the Time Zone selector. This sets the time zone the form will present the Off-Sale message.
- The Current Count field cannot be edited (it is greyed out). This value is updated every time a form is processed. The Current Count is incremented by the count value set in the pricing configuration. See below.
- If a transaction is refunded, the count value of the transaction is removed from the Current Count total and will be available for sale.
- The Maximum Count field should contain the number you want to make available for sale. You can change this number at any time. If you make it lower than the Current Count, the form will go Off-Sale.
If Date or Count is chosen:
Using By Date or Count allows you to set a both a Date and a Maximum Count. Whenever either piece of criteria is met, your Off-Sale settings will be turned on for that form ensuring you get the maximum amount of time possible without having to manually monitor and adjust the form.
- Message will display a message on the form if it is accessed after your Date or Count have been reached. See below for further set up information if you choose to display a message
- Redirect allows you to redirect this form to a separate form if this form is accessed after your Date or Count have been reached. An example of this would be if your Count is set to 250 and you've reached that number, but a patron tries accessing this form after you've reached 250, this form would redirect to a donation form (or any other type of form you choose).
The Body Copy can be edited and may include custom CSS if you would like to apply further styles to this section.
The Body Copy Color can be edited with a hex code colors. This will only affect the text in the body of the form.
The Button Link allows you to add a hyperlink to your button that, should your patron click on it, will take them to a webpage. This can be your organization’s website, performance information, or whatever you choose.
Header Image
Your header can be personalized to match with your branding and will appear on both the Payment Page and the Thank You Page. If you have a Presentation Manager that includes a logo, you may not need this or you can use this to include an image rather than a logo.

If you have a logo image that you’d like to use, upload it in the Embedded Logo section. You will be able to view what it will look like on the right side of the screen. Recommended image size is between 800 to 1000 pixels wide by 250 to 400 pixels tall at 72 dpi. When in doubt, check with your marketing department!
The Alt Tag allows you to add a short description for your image that is accessible to screen readers or shows as text if the image doesn’t load.
Main Content

The Body Copy can be edited and may include custom CSS if you would like to apply further styles to this section.
The Body Copy Color can be edited with a hex code colors to match your branding. This will only affect your Body Copy Text on this page. The Body Copy Color in your Thank You page is separate; don’t forget to change the color on the Thank You page, too!
The Fine Print can be edited and may include custom CSS if you would like to apply further styles to this section. This copy is a separate element in the Form Layout tool allowing you to place the fine print at the bottom of the page, near the totals section, or even at the top of the page.
The Fine Print Color can be edited with a hex code colors to match your branding.
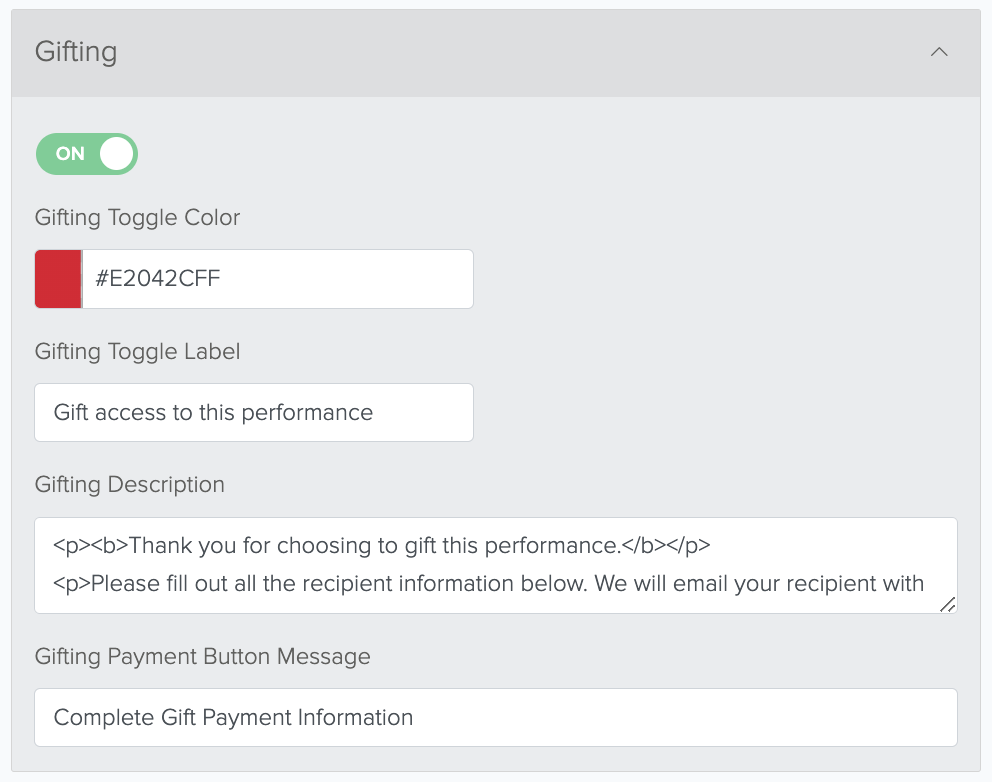
Gifting
 If Enabled:
The Gifting Toggle Color selector can be edited with a hex code to match your branding.
The Gifting Toggle Label defaults to "Gift access to this performance". You can edit this to work best for your form. Maybe, "Gift access to this Live Stream"The Gifting Description default can be edited this to work best for your form.
The Gifting Payment Button Message defaults to "Complete Gift Payment Information". You can edit this to work best for your form.
Pricing Configuration

Button
There are 8 sections to configure for each pricing configuration (button). You can clone or delete the pricing configurations.
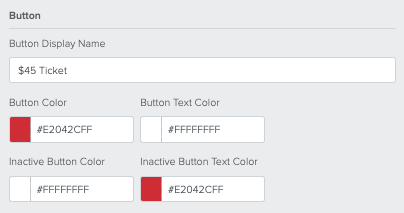
Button Display Name
Text can be edited based on a general title or purpose of the button (i.e. “$59 Ticket” or “Monthly Subscription” etc.).
These can be edited with a hex code to match your branding.
Button Color
Button Text Color
Inactive Button Color
Inactive Button Text Color
Button Information
You can update the Price (make it match the Stripe product price). The additional fields and colors allow you to configure copy specific to each button.

Oder Line Item
You can modify this text to present specific text for the totals section of payment form. Count defaults to 1. It can be changed if you want the sale using this button to count as 2 or or 4. This count applies to the Off-Sale by count. If you have 100 tickets to sell, you can set Off-Sale by count to 100. Once 100 tickets are sold. The form will go into Off-Sale.

Brightcove Gallery
The Product is a Brightcove Gallery that contains your video(s). This list comes from your Brightcove Gallery menu for In-Page or Portal Galleries that you have configured.
Brightcove Gallery Device Limit
This allows you to specify how many devices one link will allow. For example, if the Magic Link Device Limit is set to 3, as in the example below, the Magic Link can be accessed from only three devices (such as a computer, tablet, and phone). The dropdown limit is 10; however, there is also an option for Unlimited which will allow the Magic Link to be accessed from any devices as many times as the user wants.

Brightcove Gallery Length - Fixed
Set a an optional Start and End Date that access is available.

Brightcove Gallery Length - Rolling
Set an access length of time that will start at the moment of the transaction along with the number of days, weeks, months, or years.

Stripe Product
Access is sold through using Stripe Products and Stripe Product Pricing.

Frequency
This is disable on this form type.
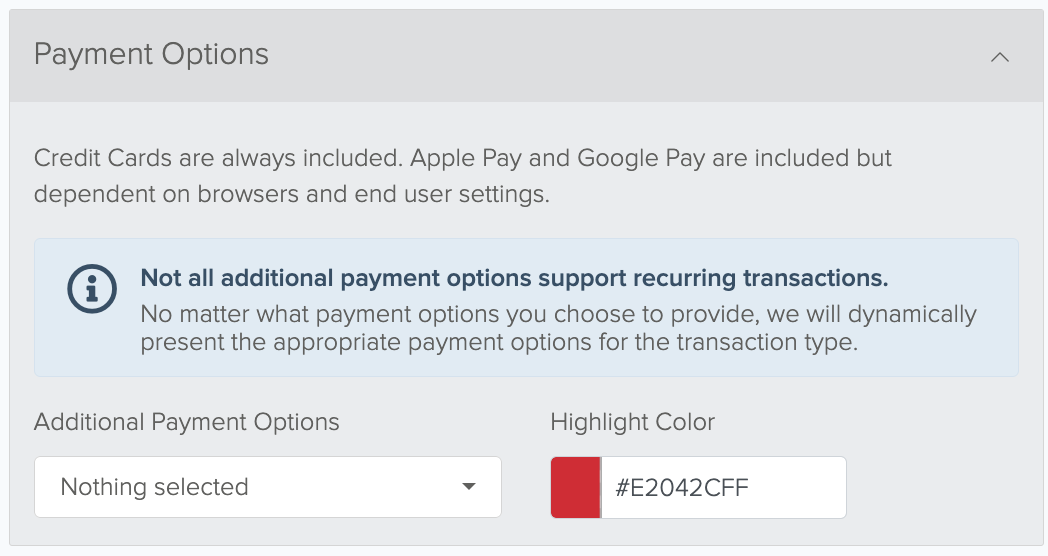
Payment Options
This allows you to enable or disable particular payment methods that we make available. ACH is a great example. Not all forms should accept ACH. A streaming subscription is not a good fit for ACH while a monthly recurring donation would be a great fit.
Additional Payment Options
Multi select from the options available.
This color will be applied to the Stripe Checkout payment area.
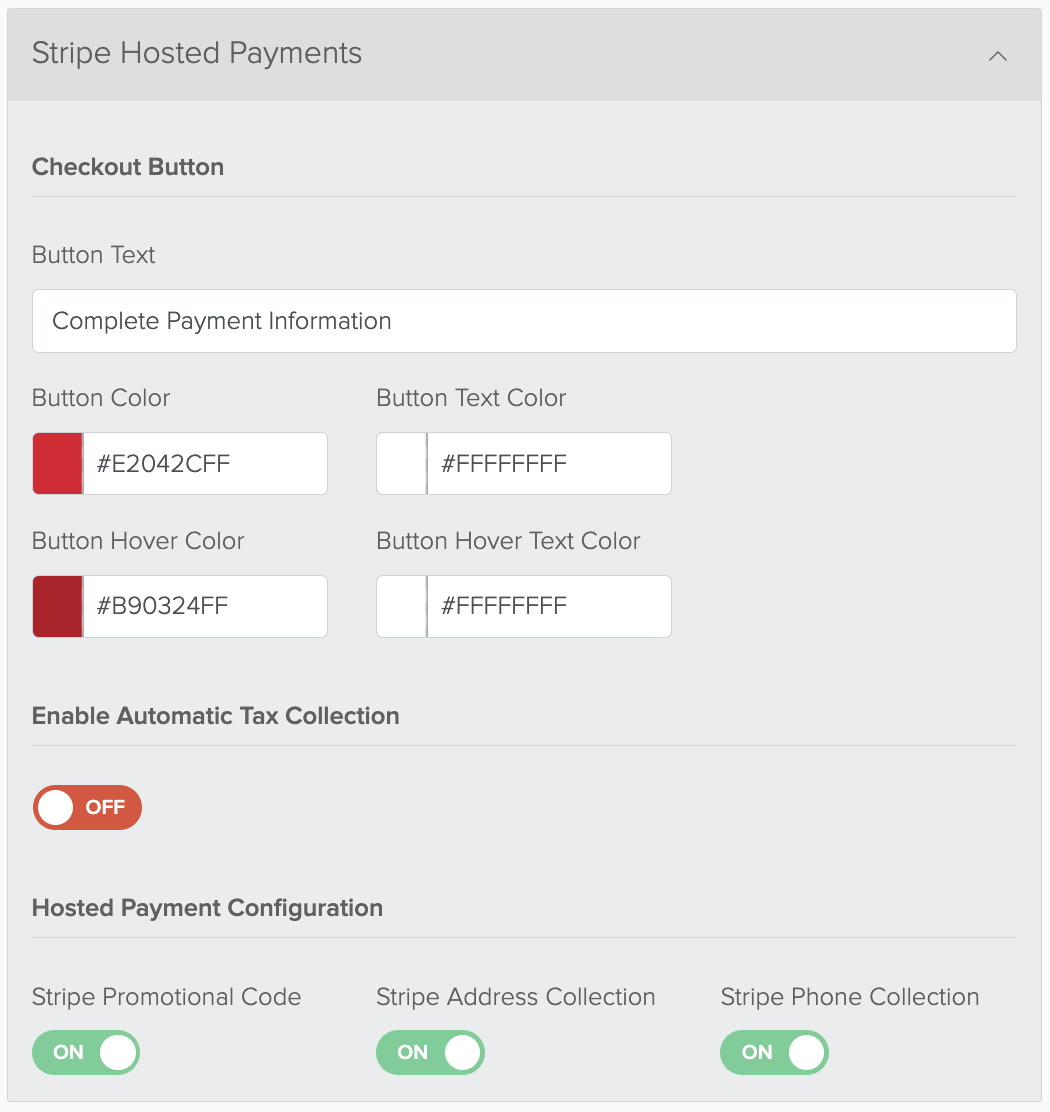
Stripe Hosted Payments
 Button Text
Update this copy to change the text displayed on the payment button at the bottom of the form.
These can be edited with a hex code to match your branding.
Button Color
Button Text Color
Inactive Button Color
Inactive Button Text Color
You can enable Automatic Tax Collection on the Stripe Checkout page for products where need to collect tax. In order to do so, you must have Stripe Tax enabled in your Stripe account. Stripe will handle all the tax calculations and reporting.
Enabling this toggle will allow Promotion Codes.
Promotion Codes are a Stripe Billing and Checkout feature which enables you to generate customer facing codes which can be redeemed to apply a coupon to an order. Promotion Codes have advanced validation features which allow you to specify when and on what orders the codes can be redeemed.
Enabling this will force Address collection.
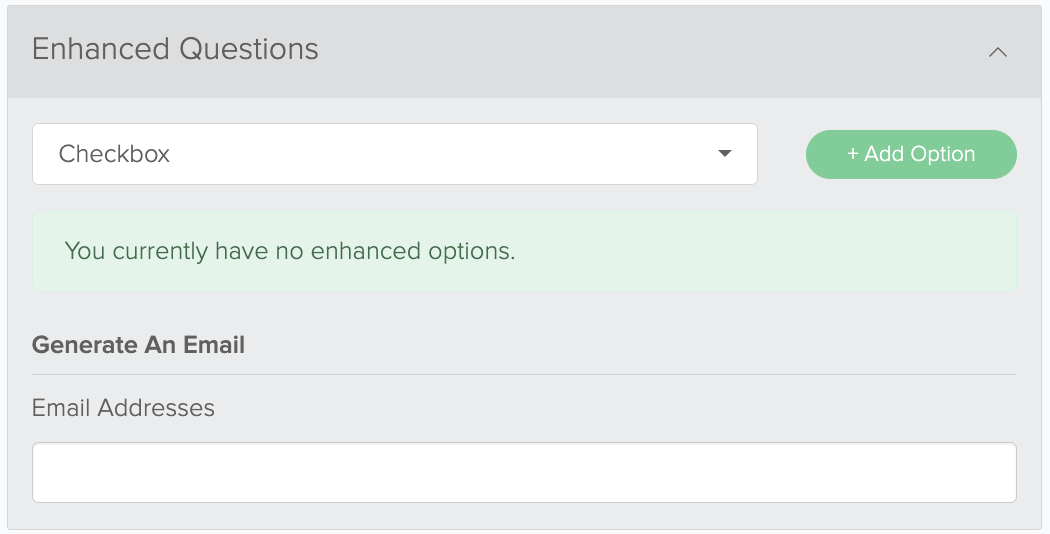
Enhanced Questions
Questions types range from text inputs to radio button choices. You can customize and configure questions, set defaults, set requirements, and configure validation.
Social Share Previews
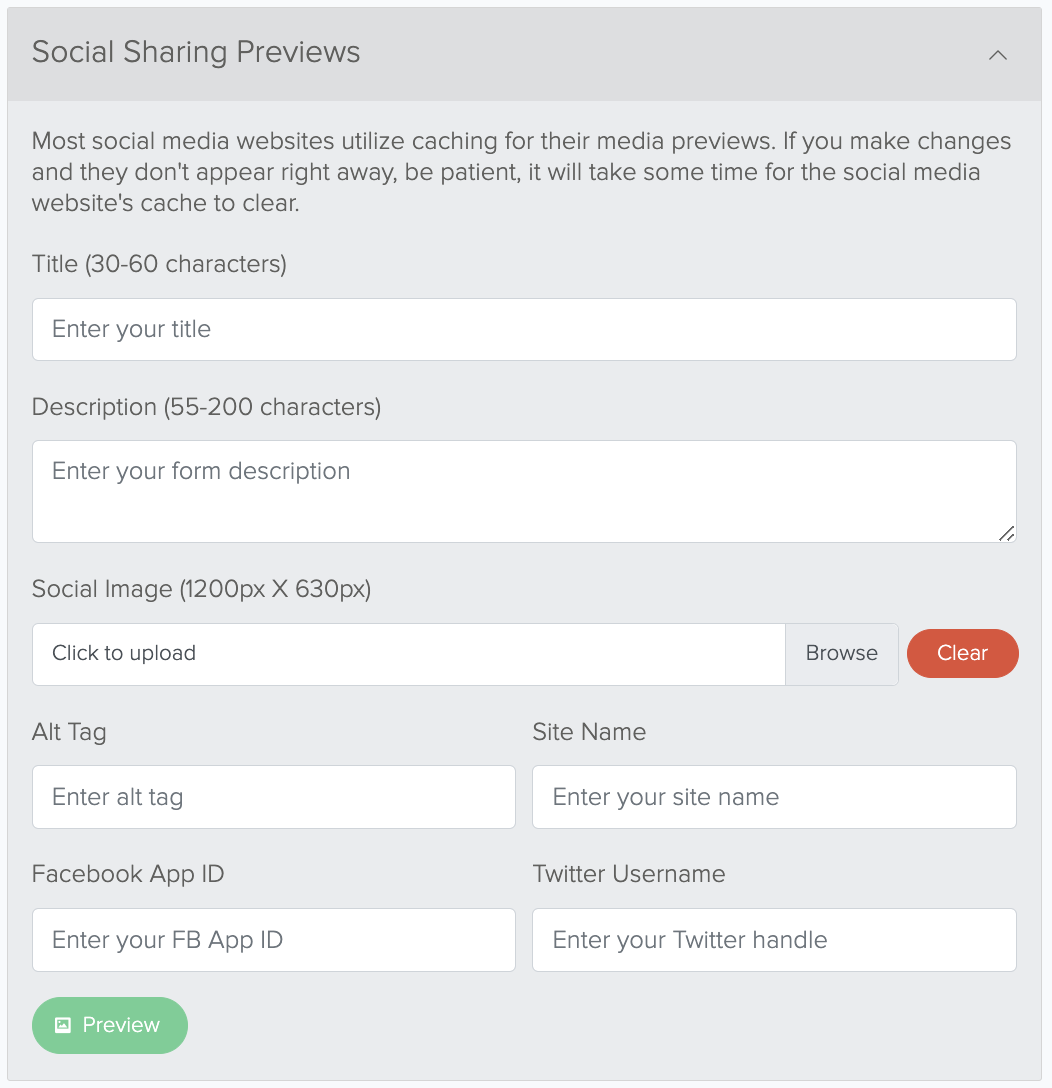
Social Sharing Previews does not share or post the form to social media on your behalf. This is a tool to configure the preview and analytics when you or your patrons choose to share the form.
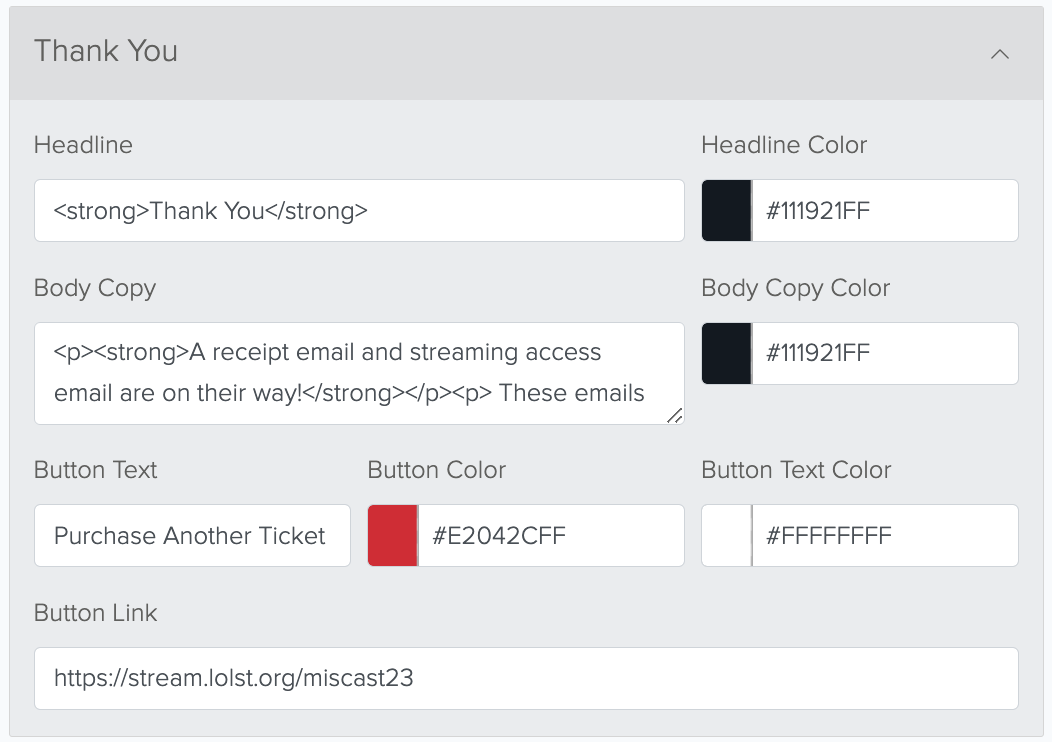
Thank You
The Thank You page is customizable to your preferences. This is the page that will appear once payment is complete.
Messages
This is used in a similar way to the Messaging option for other forms. When a customer makes a purchase for them selves or as a gift, emails will be deployed. 
There are 2 different configurations available with Messages, Self Purchase and Gift Purchase. Self Purchase is required but Gifting is optional. If you enable Gifting, then Gift Purchase and Gifted are required.
- Self Purchase
This email goes to the buyer. It contains the message you want to communicate for the purchase. This will include a Magic Link that provides instant access or access for the time window their product is valid.
Receipts will be deployed from Stripe as a separate email. - Gift Purchase
This email goes to the buyer. It contains the message you want to communicate for the gift purchase. This does not include a Magic Link. - Gifted
This email goes to the gift recipient. It contains the message you want to communicate for the gift recipient including the message from the buyer. This will include a Magic Link that provides instant access or access for the time window their product is valid.